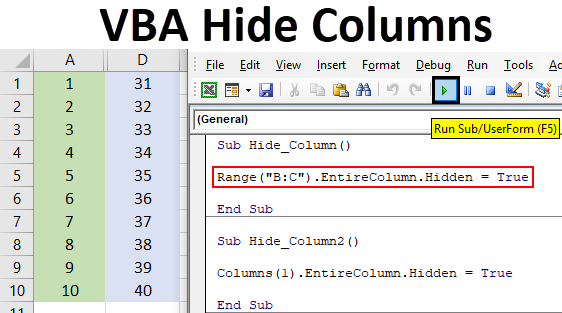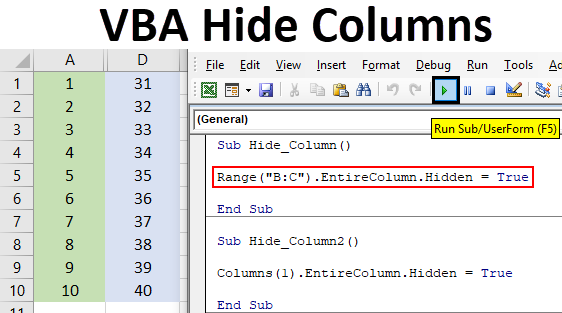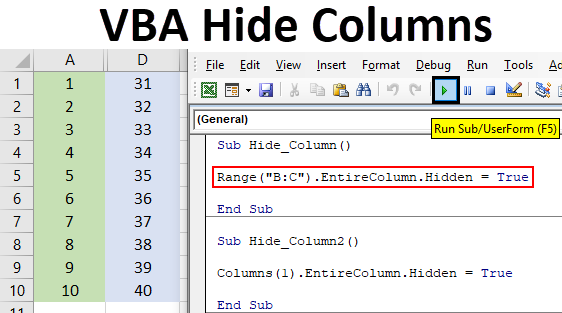
The world of Excel VBA can be a vast and complex one, but with the right tools and techniques, you can unlock its full potential. One of the most useful skills to have in your Excel VBA arsenal is the ability to hide rows. Whether you're working with sensitive data, trying to declutter your spreadsheet, or simply wanting to create a more visually appealing interface, hiding rows can be a powerful tool.
In this article, we'll explore five different ways to hide rows in Excel VBA, from the simplest to the most complex. By the end of this article, you'll be equipped with the knowledge and skills to tackle even the most challenging Excel VBA projects.
Why Hide Rows in Excel VBA?
Before we dive into the nitty-gritty of hiding rows in Excel VBA, let's take a step back and ask ourselves why we might want to do this in the first place. Here are a few scenarios where hiding rows might come in handy:
- Data security: If you're working with sensitive data, such as financial information or personal details, you may want to hide certain rows to prevent unauthorized access.
- Spreadsheet organization: Hiding rows can help declutter your spreadsheet and make it easier to navigate.
- Visual appeal: Hiding rows can also help create a more visually appealing interface, making it easier for users to focus on the data that matters.
Method 1: Hiding Rows Using the Rows Object
The simplest way to hide rows in Excel VBA is to use the Rows object. This object allows you to access and manipulate individual rows in your spreadsheet.
Here's an example of how to use the Rows object to hide a row:
Sub HideRow()
    Rows(2).Hidden = True
End Sub
In this example, we're using the Rows object to access the second row in our spreadsheet (remember that row numbering starts at 1, not 0!). We're then setting the Hidden property of that row to True, which effectively hides it.
Method 2: Hiding Rows Using the Range Object
Another way to hide rows in Excel VBA is to use the Range object. This object allows you to access and manipulate a specific range of cells in your spreadsheet.
Here's an example of how to use the Range object to hide a row:
Sub HideRow()
    Range("A2:A2").EntireRow.Hidden = True
End Sub
In this example, we're using the Range object to access the cell in the second row and first column (cell A2). We're then using the EntireRow property to access the entire row, and setting the Hidden property to True to hide it.
Method 3: Hiding Rows Using a Loop
Sometimes, you may need to hide multiple rows at once. In this case, you can use a loop to iterate over the rows and hide them individually.
Here's an example of how to use a loop to hide multiple rows:
Sub HideRows()
    Dim i As Long
    For i = 2 To 5
        Rows(i).Hidden = True
    Next i
End Sub
In this example, we're using a For loop to iterate over the rows 2 to 5. Inside the loop, we're using the Rows object to access each row and setting the Hidden property to True to hide it.
Method 4: Hiding Rows Based on a Condition
Sometimes, you may want to hide rows based on a specific condition. For example, you may want to hide rows where the value in a certain column is blank.
Here's an example of how to hide rows based on a condition:
Sub HideRows()
    Dim i As Long
    For i = 2 To 10
        If Cells(i, 2).Value = "" Then
            Rows(i).Hidden = True
        End If
    Next i
End Sub
In this example, we're using a For loop to iterate over the rows 2 to 10. Inside the loop, we're checking the value in the second column (column B). If the value is blank, we're setting the Hidden property of the row to True to hide it.
Method 5: Hiding Rows Using the AutoFilter Method
Finally, you can use the AutoFilter method to hide rows based on a specific criteria.
Here's an example of how to use the AutoFilter method to hide rows:
Sub HideRows()
    Range("A1:E10").AutoFilter Field:=2, Criteria1:="<>", VisibleDropDown:=False
End Sub
In this example, we're using the AutoFilter method to filter the range A1:E10 based on the values in the second column (column B). We're setting the Criteria1 argument to "<> to filter out blank cells, and setting the VisibleDropDown argument to False to hide the dropdown menu.

Gallery of Hide Rows Excel VBA


FAQs
How do I hide rows in Excel VBA?
+There are several ways to hide rows in Excel VBA, including using the `Rows` object, the `Range` object, a loop, and the `AutoFilter` method.
Can I hide rows based on a condition?
+Yes, you can hide rows based on a condition using a loop and the `If` statement.
How do I unhide rows in Excel VBA?
+To unhide rows in Excel VBA, you can use the `Hidden` property and set it to `False`.
We hope this article has helped you understand the different ways to hide rows in Excel VBA. Whether you're a beginner or an advanced user, hiding rows can be a powerful tool to help you manage your data and create a more visually appealing interface.