In today's fast-paced business world, automation has become an essential tool for increasing productivity and efficiency. One popular automation platform is Power Automate, formerly known as Microsoft Flow. Power Automate allows users to create automated workflows between various applications and services, saving time and reducing manual labor. In this article, we will explore how to create a worksheet with Power Automate, making automation easier than ever.
What is Power Automate?
Power Automate is a cloud-based automation platform that enables users to create automated workflows between different applications and services. It offers a user-friendly interface that allows users to design and build workflows without extensive coding knowledge. With Power Automate, users can automate repetitive tasks, synchronize data between applications, and streamline business processes.
Benefits of Using Power Automate
Before we dive into creating a worksheet with Power Automate, let's explore some of the benefits of using this powerful automation platform:
- Increased Productivity: Power Automate automates repetitive tasks, freeing up time for more strategic and creative work.
- Improved Efficiency: Automated workflows reduce manual labor, minimizing errors and increasing accuracy.
- Enhanced Collaboration: Power Automate allows teams to collaborate on workflows, ensuring everyone is on the same page.
- Scalability: Power Automate can handle large volumes of data and workflows, making it an ideal solution for businesses of all sizes.
Creating a Worksheet with Power Automate
Now that we've explored the benefits of Power Automate, let's create a worksheet that demonstrates its capabilities. In this example, we'll create a workflow that generates a weekly report of sales data from a fictional online store.
Step 1: Connect to Data Sources
To create our worksheet, we need to connect to our data sources. In this case, we'll use a fictional online store's sales data stored in an Excel spreadsheet.

Step 2: Create a New Flow
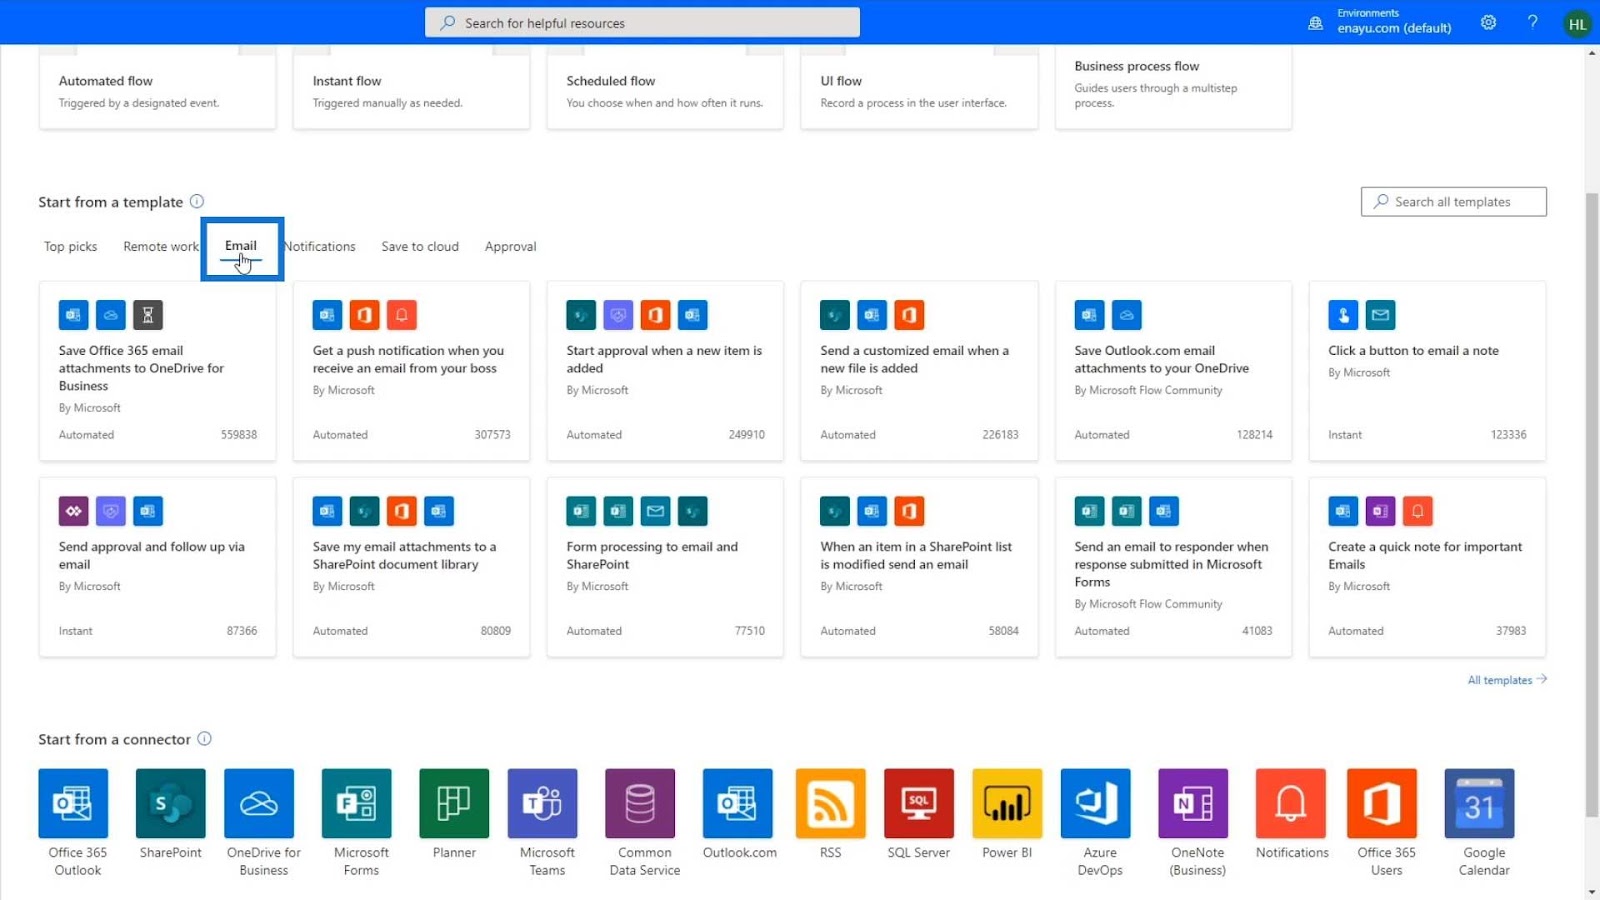
Next, we'll create a new flow in Power Automate. Click on the "Create from blank" button to start designing our workflow.

Step 3: Add Triggers and Actions
Now, we'll add triggers and actions to our workflow. In this example, we'll use a schedule trigger to run our workflow every Monday morning.

Step 4: Configure Workflow
Next, we'll configure our workflow to generate a weekly report of sales data. We'll use the "Get rows" action to retrieve data from our Excel spreadsheet.

Step 5: Test and Deploy
Finally, we'll test and deploy our workflow. Click on the "Test" button to run our workflow and ensure it's working correctly.

Gallery of Power Automate


Frequently Asked Questions
What is Power Automate?
+Power Automate is a cloud-based automation platform that enables users to create automated workflows between different applications and services.
How do I create a workflow in Power Automate?
+To create a workflow in Power Automate, click on the "Create from blank" button and follow the prompts to design and build your workflow.
What are some benefits of using Power Automate?
+Power Automate offers several benefits, including increased productivity, improved efficiency, enhanced collaboration, and scalability.
In conclusion, creating a worksheet with Power Automate is a straightforward process that can help businesses automate repetitive tasks and streamline processes. By following the steps outlined in this article, you can create a workflow that generates a weekly report of sales data, saving time and increasing productivity. With Power Automate, the possibilities are endless, and we encourage you to explore its capabilities and start automating your workflows today!