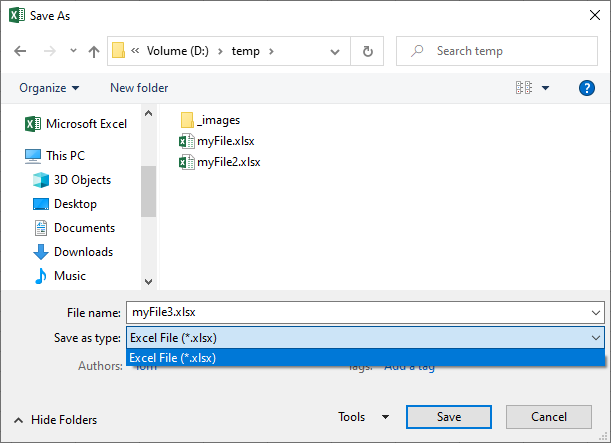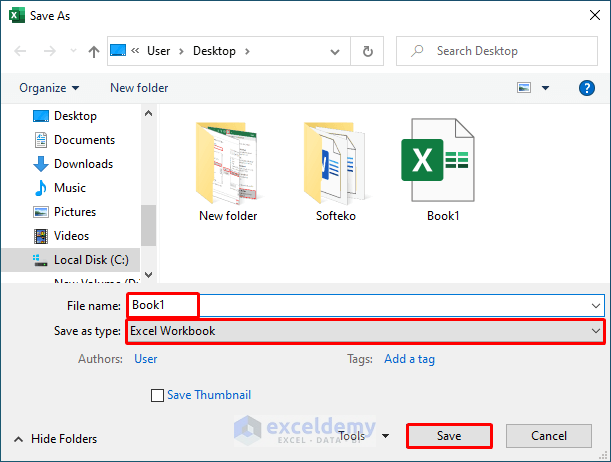
Saving Excel files as XLSX using VBA is a common requirement for automating tasks, especially when working with Excel macros. XLSX is the default file format for Excel 2007 and later versions, which offers several benefits over the older XLS format, including better compression and support for newer Excel features. Here’s how you can use VBA to save Excel files as XLSX.
Why Save as XLSX?
Before diving into the VBA code, it’s worth understanding the benefits of saving Excel files as XLSX:
- Compatibility: XLSX files are compatible with Excel 2007 and later versions, making them a good choice for sharing files across different versions of Excel.
- Compression: XLSX files use ZIP compression, which reduces the file size compared to XLS files.
- Security: XLSX files support advanced security features, such as encryption and password protection.
VBA Code to Save as XLSX
You can use the following VBA code to save an Excel file as XLSX:
Sub SaveAsXLSX()
    Dim filePath As String
    Dim fileName As String

    ' Define the file path and name
    filePath = "C:\Example\" ' Change to your desired path
    fileName = "ExampleFile" ' Change to your desired file name

    ' Save the active workbook as XLSX
    ActiveWorkbook.SaveAs fileName:=filePath & fileName & ".xlsx", _
                          FileFormat:=xlOpenXMLWorkbook
End Sub
In this code:
ActiveWorkbookrefers to the currently active workbook.SaveAsis the method used to save the workbook with a new name or location.fileName:=specifies the path and file name for the saved file. You should change"C:\Example\"to your desired file path and"ExampleFile"to your desired file name.FileFormat:=xlOpenXMLWorkbookspecifies that the file should be saved in the XLSX format (xlOpenXMLWorkbookis the file format constant for XLSX).
How to Use the Code
- Open Excel and press
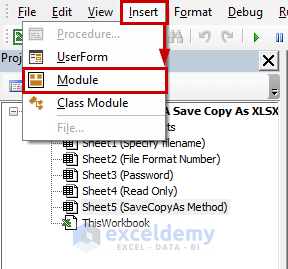
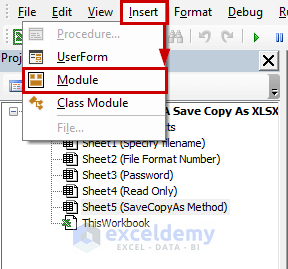
Alt + F11to open the Visual Basic for Applications (VBA) editor. - In the VBA editor, click
Insert>Moduleto insert a new module. - Paste the VBA code into the module window.
- Update the
filePathandfileNamevariables with your desired file path and name. - Click
Run>Run Sub/UserForm(or pressF5) to execute the code. - The active workbook will be saved as an XLSX file in the specified location.
Tips and Variations
- Save a Specific Workbook: If you want to save a specific workbook instead of the active one, replace
ActiveWorkbookwithWorkbooks("YourWorkbookName.xlsx"). - Prompt for File Path and Name: You can use the
Application.GetSaveAsFilenamemethod to prompt the user for the file path and name. - Overwrite Existing Files: Be cautious when using
SaveAsbecause it will overwrite files with the same name without warning. UseApplication.DisplayAlerts = FalsebeforeSaveAsto suppress the overwrite prompt, but be sure to set it back toTrueafterwards.
Saving Excel files as XLSX using VBA is a straightforward process that can be automated to enhance your workflow efficiency. By adapting the provided code to your specific needs, you can easily integrate this functionality into your Excel macros.


