Excel is an incredibly powerful tool for managing and analyzing data, and one of its most useful features is the ability to auto-increment columns. Whether you're creating a list of sequential numbers, tracking dates, or generating unique IDs, Excel's auto-increment functionality can save you a lot of time and effort.
In this article, we'll explore the various ways to achieve column auto-increment in Excel, including using formulas, AutoFill, and VBA macros. We'll also discuss some common use cases and provide tips and tricks for getting the most out of this feature.
Why Use Auto-Increment in Excel?
Auto-incrementing columns can be useful in a variety of situations, such as:
- Creating a list of sequential numbers, like invoice numbers or employee IDs
- Tracking dates, like payment due dates or appointment schedules
- Generating unique IDs for data entries
- Creating a series of numbers for data analysis or charting
Method 1: Using Formulas
One of the simplest ways to auto-increment a column in Excel is to use a formula. Here's an example:
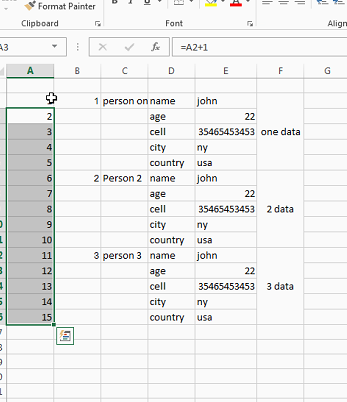
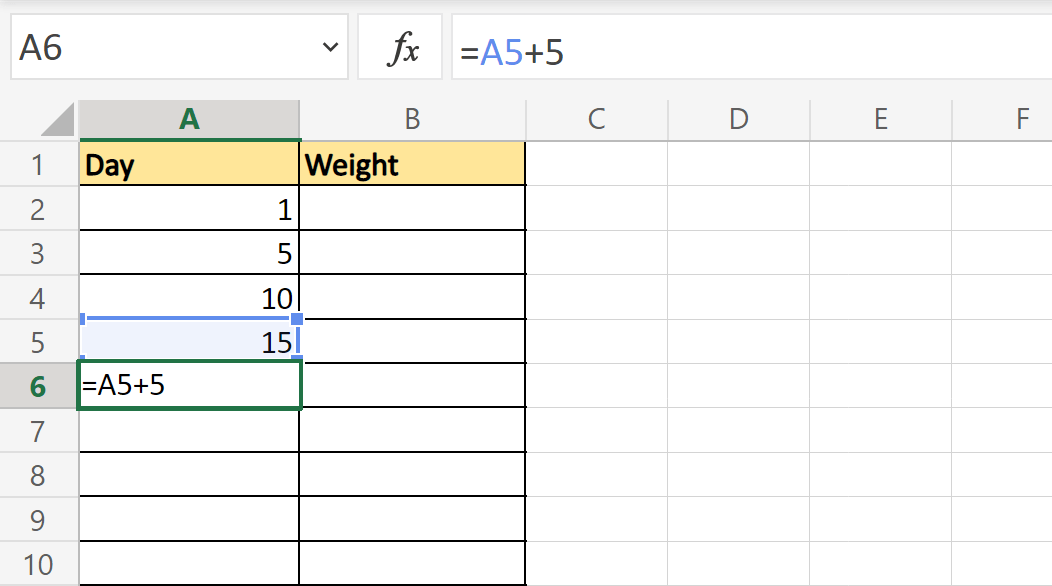
Suppose you want to create a list of sequential numbers in column A, starting from 1. In cell A2, enter the formula =A1+1, and then copy it down to the rest of the cells in the column.
This formula will automatically increment the value in each cell by 1, creating a list of sequential numbers.
Method 2: Using AutoFill
AutoFill is a feature in Excel that allows you to quickly fill a range of cells with a formula or value. Here's how to use AutoFill to auto-increment a column:
- Select the cell that contains the starting value.
- Go to the "Home" tab in the ribbon.
- Click on the "Fill" button in the "Editing" group.
- Select "Series" from the drop-down menu.
- In the "Series" dialog box, select the type of series you want to create (e.g., linear, date, etc.).
- Set the increment value and the range of cells you want to fill.
- Click "OK" to apply the AutoFill.
Method 3: Using VBA Macros
VBA macros can be used to automate many tasks in Excel, including auto-incrementing columns. Here's an example of a VBA macro that auto-increments a column:
Sub AutoIncrementColumn()
    Dim lastRow As Long
    Dim i As Long

    ' Find the last row with data in column A
    lastRow = Cells(Rows.Count, "A").End(xlUp).Row

    ' Loop through the range of cells and increment the value
    For i = 2 To lastRow
        Cells(i, "A").Value = Cells(i - 1, "A").Value + 1
    Next i
End Sub
This macro will automatically increment the value in each cell in column A, starting from the second row.
Tips and Tricks
Here are some additional tips and tricks for using auto-increment in Excel:
- Use relative references: When using formulas to auto-increment a column, use relative references (e.g.,
=A1+1) instead of absolute references (e.g.,$A$1+1). This will allow the formula to adjust automatically when you insert or delete rows. - Use AutoFill with caution: While AutoFill can be a powerful tool, it can also be unpredictable. Make sure to test the AutoFill feature thoroughly before using it on a large range of cells.
- Use VBA macros with caution: VBA macros can be powerful, but they can also be complex and difficult to debug. Make sure to test the macro thoroughly before using it on a large range of cells.
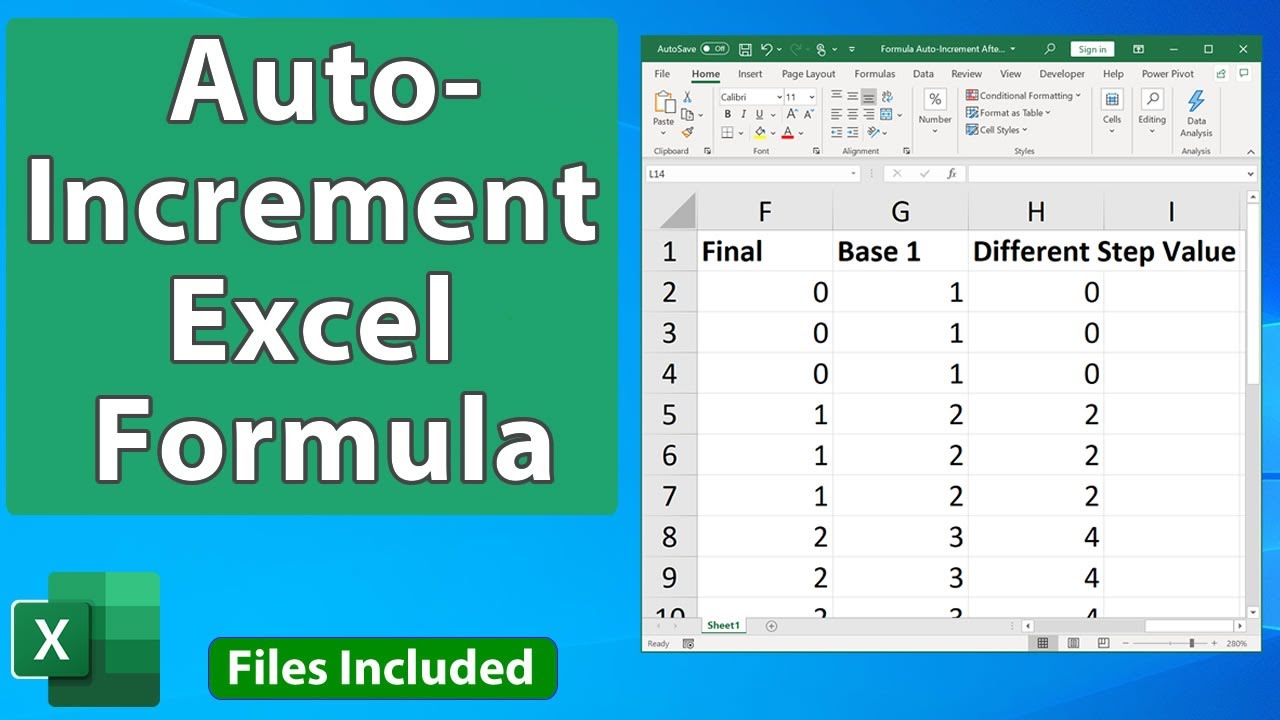
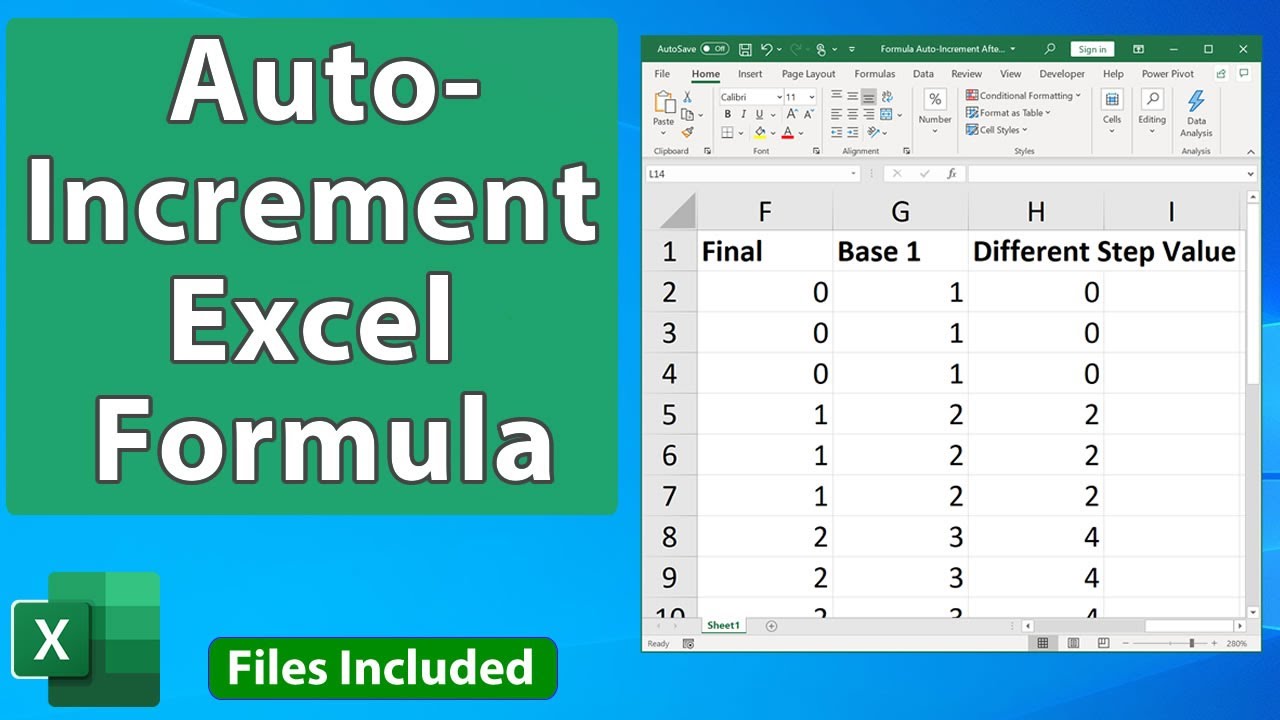
Gallery of Auto-Increment Examples

Frequently Asked Questions
How do I auto-increment a column in Excel?
+You can use formulas, AutoFill, or VBA macros to auto-increment a column in Excel. See the article for more details.
What is the best way to auto-increment a column in Excel?
+The best way to auto-increment a column in Excel depends on your specific needs. If you want a simple and flexible solution, formulas may be the best choice. If you want a more automated solution, AutoFill or VBA macros may be a better option.
How do I use AutoFill to auto-increment a column in Excel?
+To use AutoFill to auto-increment a column in Excel, select the cell that contains the starting value, go to the "Home" tab, click on the "Fill" button, and select "Series" from the drop-down menu. Then, set the increment value and the range of cells you want to fill.


