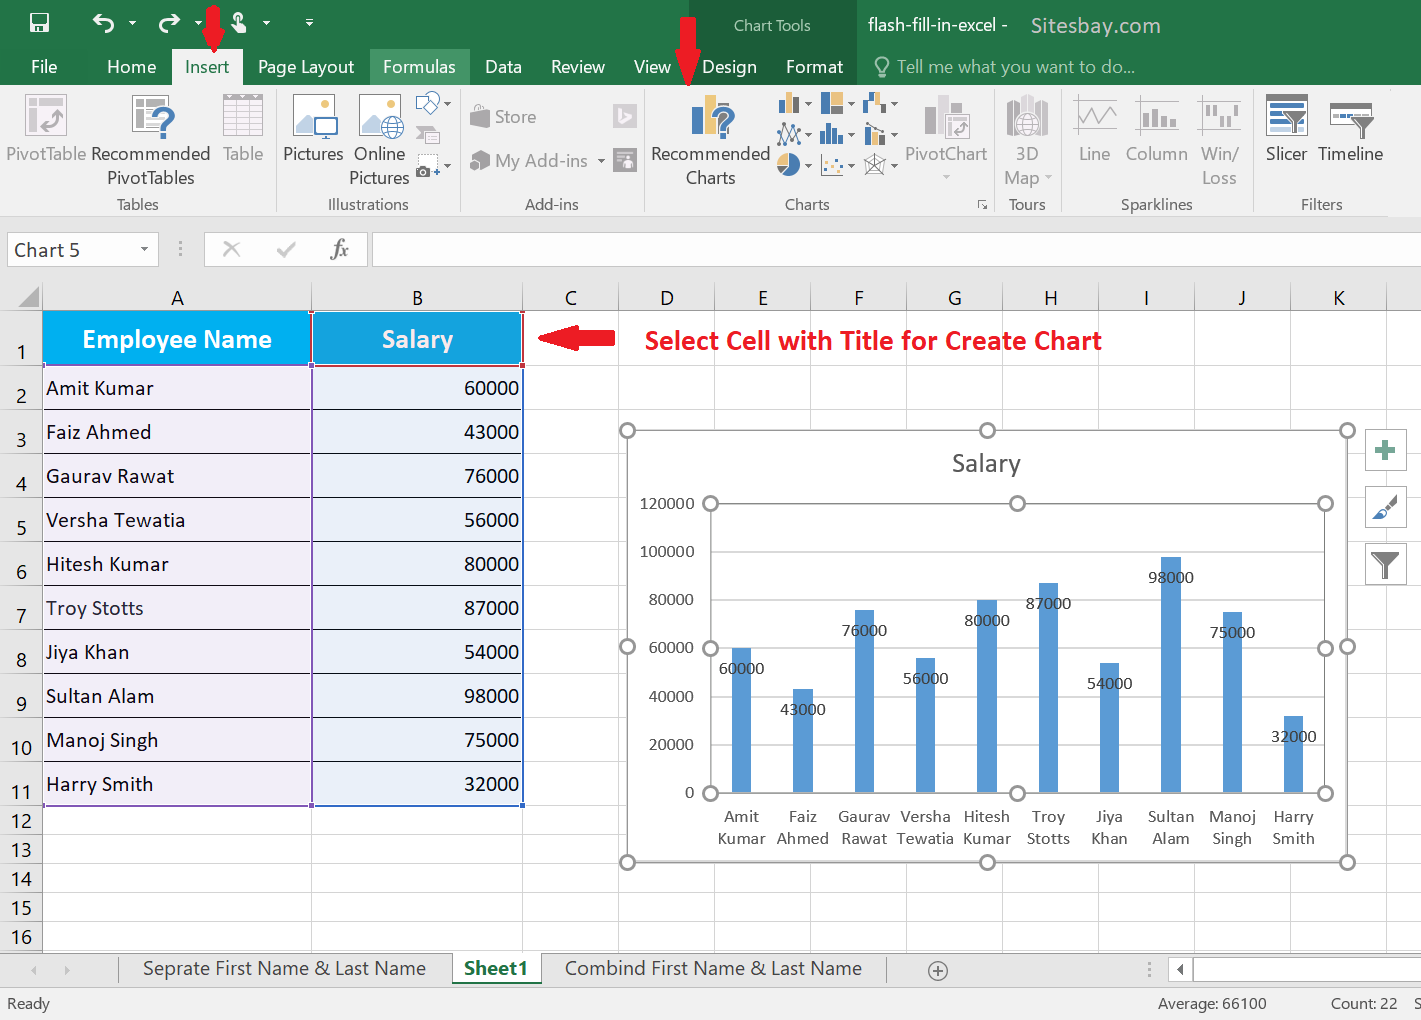
Organizing data into a structured format is a crucial step in many professional and personal endeavors. Microsoft Excel, with its powerful features and versatility, is often the go-to tool for creating, managing, and analyzing data. However, sometimes you might start with a list - perhaps from a document, an email, or even a handwritten note - and you need to convert this list into an Excel sheet. Converting lists into Excel sheets can significantly enhance data management and analysis capabilities. In this article, we'll explore five easy ways to create Excel sheets from lists, catering to different scenarios and user preferences.
The Importance of Organizing Lists in Excel
Before diving into the methods, it's essential to understand why organizing lists in Excel is beneficial. Excel sheets offer advanced data manipulation and analysis tools, including filtering, sorting, conditional formatting, and formulas, which can greatly enhance your ability to understand and work with your data. Moreover, Excel's tabular structure makes it easier to visualize and compare data points.
Method 1: Manual Copy and Paste
Converting Lists to Excel with Manual Copy and Paste

One of the most straightforward ways to create an Excel sheet from a list is by manually copying and pasting the data. This method is simple and doesn't require any technical knowledge beyond basic Excel operations.
- Select Your List: Identify the list you want to convert, whether it's in a document, an email, or a spreadsheet software other than Excel.
- Copy the List: Highlight all the items in your list and copy them. You can use the keyboard shortcut Ctrl+C (Windows) or Command+C (Mac).
- Open Excel: Launch Microsoft Excel and open a new workbook. Alternatively, you can open an existing workbook where you wish to add your list.
- Paste the List: Click on the cell where you want to start your list and press Ctrl+V (Windows) or Command+V (Mac) to paste your list. Excel will automatically detect the list format and distribute the items across rows or columns, depending on the structure of your list.
- Adjust and Format: You might need to adjust the column widths and format the data (e.g., date, number) to better suit your needs.
Method 2: Using Excel's Text to Columns Feature
Converting Lists to Excel with Text to Columns

Excel's Text to Columns feature is particularly useful for converting comma-separated or tab-delimited lists into structured data.
- Paste Your List: Start by pasting your list into Excel, ideally into a single column.
- Go to Data Tab: Navigate to the "Data" tab in the Excel ribbon.
- Text to Columns: Click on the "Text to Columns" button. A wizard will open to guide you through the process.
- Choose Delimiter: Select the type of delimiter used in your list (e.g., comma, tab, space). Excel will preview how your data will be split.
- Finish: Click "Finish" to convert your list into separate columns.
Method 3: Importing from Other Sources
Converting Lists to Excel by Importing from Other Sources

If your list is in a text file, an email, or another application, you can directly import it into Excel.
- Open Excel: Start a new Excel workbook.
- Data Tab: Go to the "Data" tab.
- From Text: Click on "From Text" in the "Get & Transform Data" section.
- Select File: Navigate to your text file and select it. Excel will import the data.
- Adjust Settings: You might need to adjust import settings, such as delimiter, in the Text Import Wizard.
Method 4: Using Flash Fill
Converting Lists to Excel with Flash Fill

Flash Fill is a powerful feature in Excel that can automatically fill a range with a formula or format based on a pattern.
- Prepare Your Data: Ensure your list is in a format that Excel can recognize, such as separated by commas or tabs.
- Enter Sample Data: Manually enter a few rows of your list into Excel to establish a pattern.
- Select Data Range: Select the range that includes your sample data and the cells where you want to fill in the rest of your list.
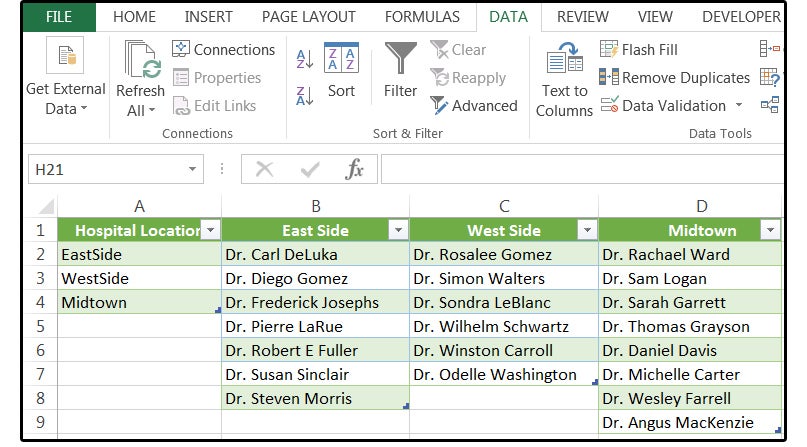
- Flash Fill: Go to the "Data" tab, click on "Flash Fill," and then click on "Auto Fill" or press Ctrl+E (Windows) or Command+E (Mac).
Method 5: Using Third-Party Tools and Add-ins
Converting Lists to Excel with Third-Party Tools and Add-ins

There are numerous third-party tools and add-ins available that can simplify the process of converting lists to Excel sheets, especially for complex data.
- Choose a Tool/Add-in: Research and select a tool or add-in that suits your needs. Ensure it's compatible with your Excel version.
- Install and Activate: Install the tool or add-in and activate it according to the provider's instructions.
- Follow Tool/Add-in Instructions: Each tool or add-in will have its own set of instructions for importing lists. Follow these to convert your list to an Excel sheet.
Gallery of Excel List Conversion Methods


FAQs
What is the simplest way to convert a list to an Excel sheet?
+The simplest way is often the manual copy and paste method, especially for small lists.
How can I convert a comma-separated list into separate columns in Excel?
+Use Excel's Text to Columns feature, selecting the comma as the delimiter.
Are there any free tools or add-ins for converting lists to Excel sheets?
+Yes, there are several free tools and add-ins available online, but ensure they are compatible with your Excel version.
Converting lists to Excel sheets is a crucial step in data management and analysis. With the variety of methods available, from simple copy and paste to utilizing third-party tools, you can efficiently organize your data to enhance productivity and insight. By applying these methods, you can leverage Excel's powerful features to make the most out of your lists.
:max_bytes(150000):strip_icc()/ListControls-5bdf3e2a46e0fb0026cff6ac.jpg)
:max_bytes(150000):strip_icc()/create-data-list-in-excel-R2-5c1d051246e0fb00013f193f.jpg)



:max_bytes(150000):strip_icc()/TableData-5bdf3e074cedfd002660ccec.jpg)
