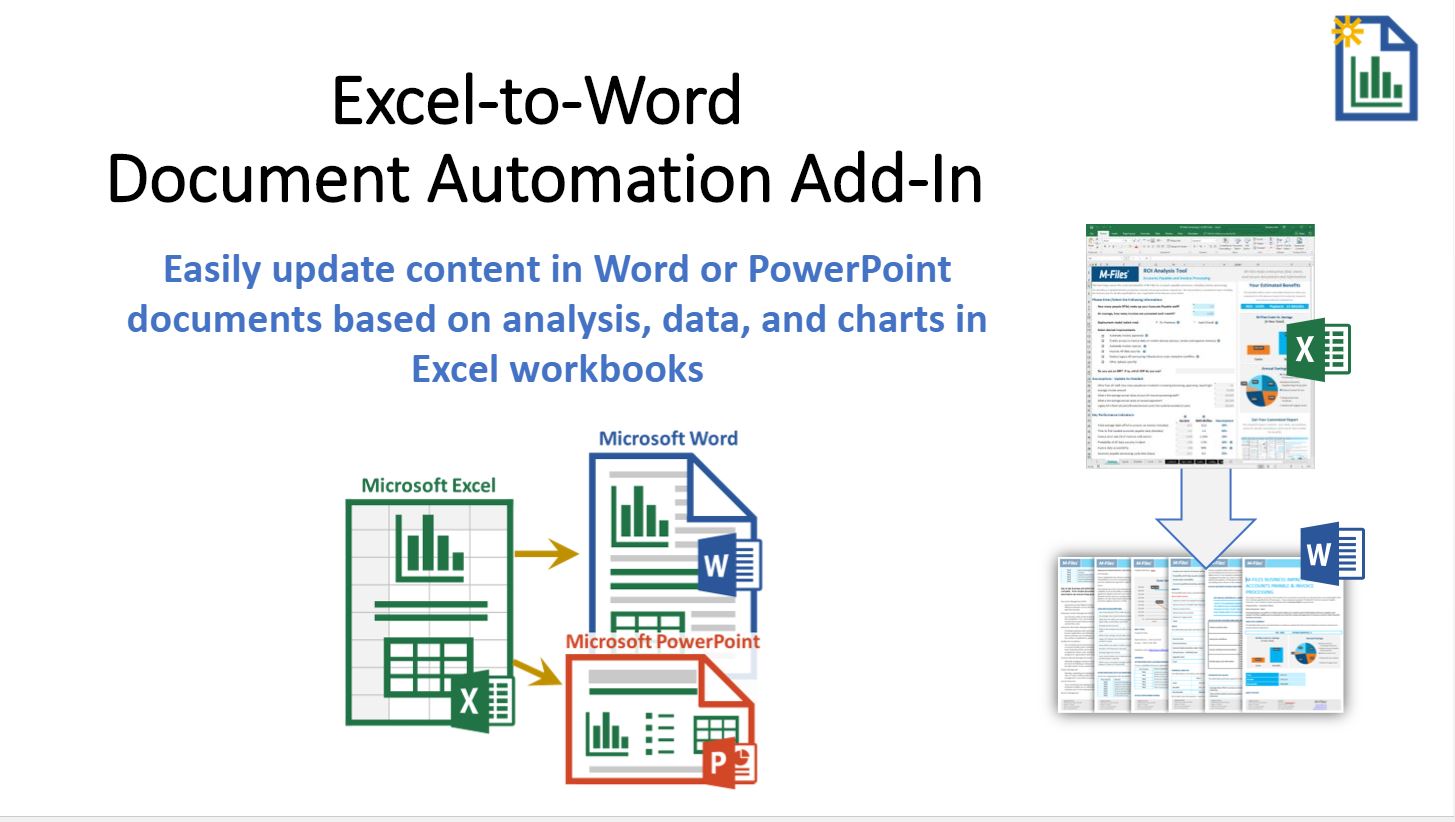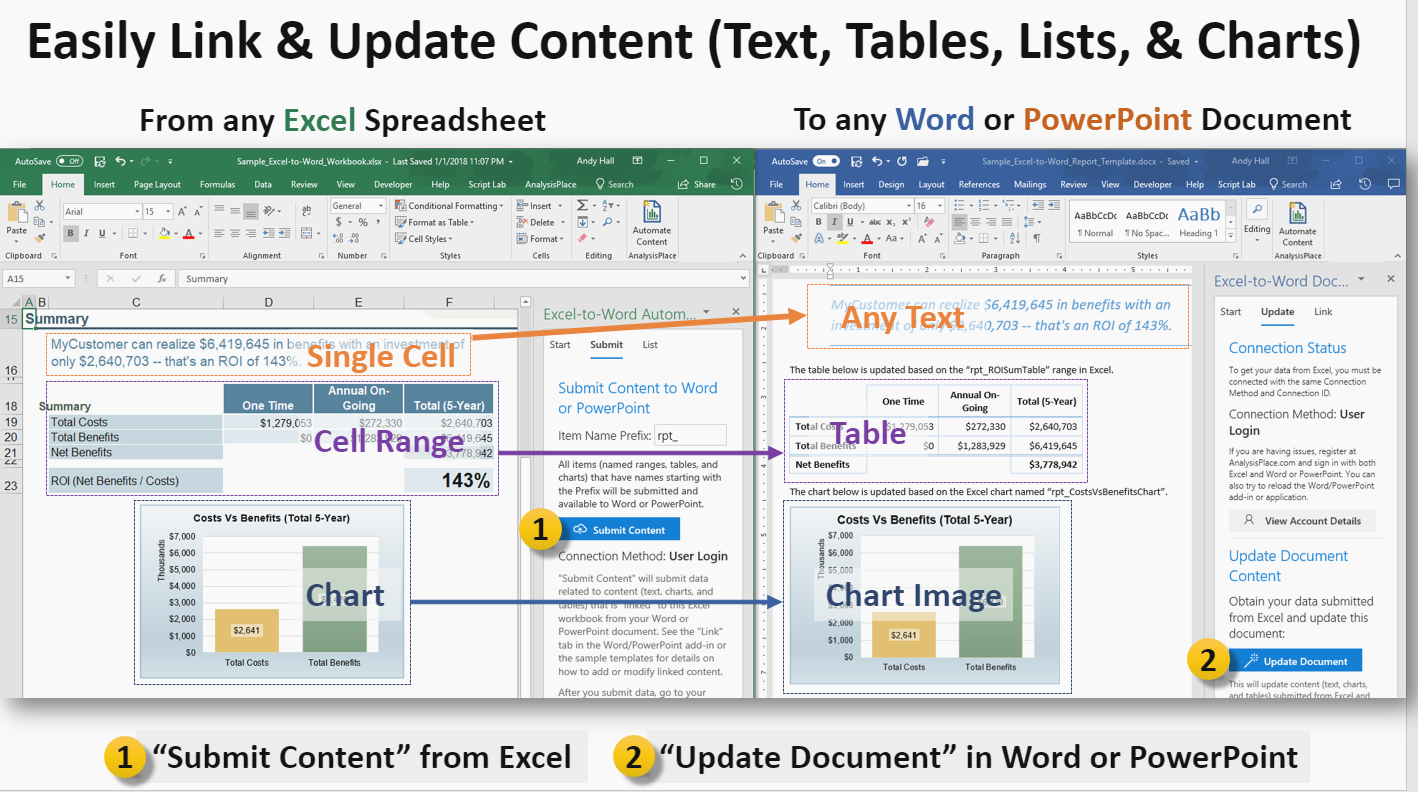
Excel and Word are two of the most widely used software applications in the world. While Excel is ideal for data analysis and calculations, Word is perfect for creating documents. However, manually transferring data from Excel to Word can be time-consuming and prone to errors. Fortunately, there are several ways to automate this process, saving you time and increasing productivity.
In this article, we will explore five ways to automate Excel to Word document, including using VBA macros, Excel add-ins, and third-party software.
Method 1: Using VBA Macros

VBA (Visual Basic for Applications) macros are a powerful way to automate tasks in Excel. You can use VBA macros to transfer data from Excel to Word, creating a document that includes the data, charts, and tables from your Excel spreadsheet.
To create a VBA macro, follow these steps:
- Open your Excel spreadsheet and go to the Developer tab.
- Click on the Visual Basic button to open the VBA editor.
- In the VBA editor, click on Tools > References and check if the Microsoft Word Object Library is selected. If not, select it and click OK.
- Create a new module by clicking on Insert > Module.
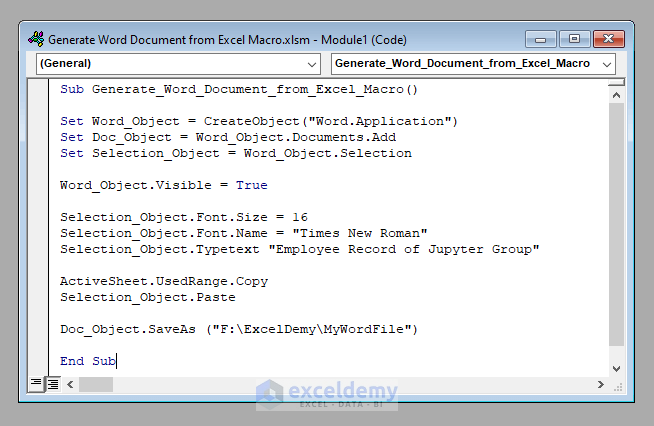
- In the module, write a script that uses the Word object library to create a new Word document and transfer the data from your Excel spreadsheet.
Here is an example of a VBA macro that transfers data from an Excel spreadsheet to a Word document:
Sub TransferDataToWord()
    Dim wordApp As Object
    Dim wordDoc As Object
    Dim excelRange As Range

    ' Create a new instance of Word
    Set wordApp = CreateObject("Word.Application")
    wordApp.Visible = True

    ' Create a new Word document
    Set wordDoc = wordApp.Documents.Add

    ' Define the range of cells to transfer
    Set excelRange = ThisWorkbook.Worksheets("Sheet1").Range("A1:B10")

    ' Transfer the data to the Word document
    wordDoc.Range.Text = excelRange.Value

    ' Save the Word document
    wordDoc.SaveAs "C:\Temp\Example.docx"

    ' Clean up
    Set wordDoc = Nothing
    Set wordApp = Nothing
End Sub
Method 2: Using Excel Add-ins
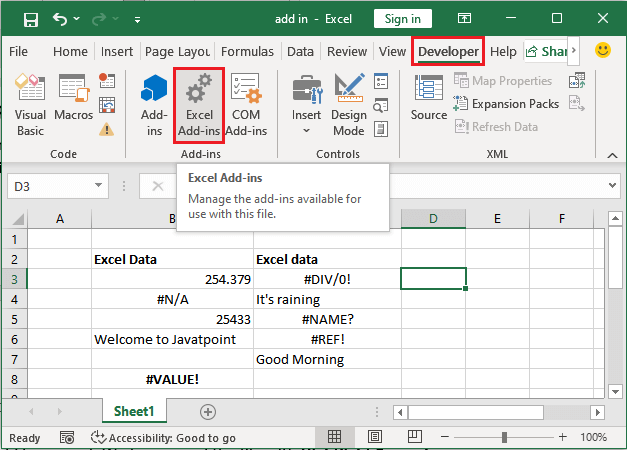
Excel add-ins are software programs that can be installed in Excel to provide additional functionality. There are several Excel add-ins available that can automate the process of transferring data from Excel to Word.
One popular Excel add-in is ASAP Utilities, which includes a feature that allows you to export data from Excel to Word. To use this feature, follow these steps:
- Install and activate ASAP Utilities in your Excel application.
- Select the range of cells that you want to transfer to Word.
- Go to the ASAP Utilities tab and click on the "Export" button.
- Select "Microsoft Word" as the export format.
- Choose the location where you want to save the Word document and click OK.
Method 3: Using Third-Party Software

There are several third-party software applications available that can automate the process of transferring data from Excel to Word. One popular software is AutoMate, which allows you to automate repetitive tasks, including transferring data between different applications.
To use AutoMate, follow these steps:
- Install and activate AutoMate on your computer.
- Create a new task in AutoMate and select "Microsoft Excel" as the source application.
- Select the range of cells that you want to transfer to Word.
- Choose "Microsoft Word" as the destination application.
- Configure the task to transfer the data from Excel to Word and save the Word document.
Method 4: Using Microsoft Power Automate

Microsoft Power Automate (formerly known as Microsoft Flow) is a cloud-based workflow automation tool that allows you to automate tasks across different applications and services. You can use Power Automate to automate the process of transferring data from Excel to Word.
To use Power Automate, follow these steps:
- Sign up for a Power Automate account and create a new flow.
- Select "Microsoft Excel" as the source application and choose the range of cells that you want to transfer to Word.
- Choose "Microsoft Word" as the destination application.
- Configure the flow to transfer the data from Excel to Word and save the Word document.
Method 5: Using VSTO (Visual Studio Tools for Office)

VSTO is a set of development tools that allows you to create custom applications for Microsoft Office. You can use VSTO to automate the process of transferring data from Excel to Word.
To use VSTO, follow these steps:
- Install Visual Studio and the VSTO add-in.
- Create a new VSTO project and select "Microsoft Excel" as the source application.
- Write code that uses the Word object library to create a new Word document and transfer the data from your Excel spreadsheet.
Here is an example of VSTO code that transfers data from an Excel spreadsheet to a Word document:
using System;
using System.Windows.Forms;
using Microsoft.Office.Interop.Excel;
using Microsoft.Office.Interop.Word;

namespace ExcelToWord
{
    public partial class Form1 : Form
    {
        public Form1()
        {
            InitializeComponent();
        }

        private void button1_Click(object sender, EventArgs e)
        {
            // Create a new instance of Word
            Application wordApp = new Application();

            // Create a new Word document
            Document wordDoc = wordApp.Documents.Add();

            // Define the range of cells to transfer
            Range excelRange = Globals.ThisWorkbook.Worksheets["Sheet1"].Range["A1:B10"];

            // Transfer the data to the Word document
            wordDoc.Range.Text = excelRange.Value;

            // Save the Word document
            wordDoc.SaveAs("C:\\Temp\\Example.docx");

            // Clean up
            wordDoc = null;
            wordApp = null;
        }
    }
}


We hope this article has provided you with the information you need to automate the process of transferring data from Excel to Word. Whether you choose to use VBA macros, Excel add-ins, third-party software, Microsoft Power Automate, or VSTO, you can save time and increase productivity by automating this process.
If you have any questions or need further assistance, please don't hesitate to contact us.
What is the best way to automate Excel to Word document?
+The best way to automate Excel to Word document depends on your specific needs and requirements. You can use VBA macros, Excel add-ins, third-party software, Microsoft Power Automate, or VSTO to automate the process.
How do I use VBA macros to automate Excel to Word document?
+To use VBA macros to automate Excel to Word document, you need to create a new module in the VBA editor, write a script that uses the Word object library to create a new Word document and transfer the data from your Excel spreadsheet, and then run the macro.
What are the benefits of using Excel add-ins to automate Excel to Word document?
+Using Excel add-ins to automate Excel to Word document provides several benefits, including increased productivity, reduced errors, and improved accuracy.

