Excel add-ins are programs that run within Microsoft Excel, providing additional functionality and tools to enhance your spreadsheet experience. Creating an Excel add-in with VBA (Visual Basic for Applications) is a great way to automate repetitive tasks, create custom functions, and streamline your workflow. In this article, we'll guide you through the process of creating an Excel add-in with VBA.
Why Create an Excel Add-in?
Creating an Excel add-in can help you:
- Automate repetitive tasks: By creating a custom add-in, you can automate tasks that you perform frequently, saving you time and effort.
- Extend Excel's functionality: Add-ins can provide new features and functions that are not available in the standard Excel interface.
- Share your tools with others: You can distribute your add-in to colleagues or friends, making it easy to share your custom tools and workflows.
- Enhance your productivity: By creating an add-in, you can streamline your workflow and focus on more important tasks.
Getting Started
To create an Excel add-in with VBA, you'll need:
- Microsoft Excel 2010 or later
- Visual Basic for Applications (VBA) enabled
- A basic understanding of VBA programming
Step 1: Enable the Developer Tab
To start creating your add-in, you need to enable the Developer tab in Excel. To do this:
- Go to the "File" tab
- Click "Options"
- In the Excel Options dialog box, click "Customize Ribbon"
- Check the box next to "Developer"
- Click "OK"
Step 2: Create a New VBA Project
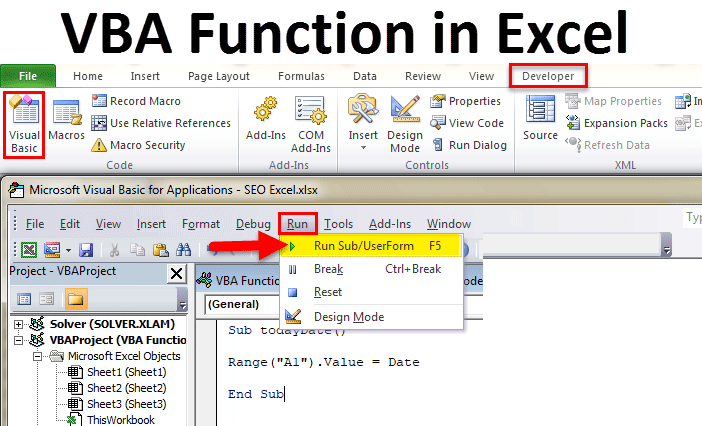
- Click the "Developer" tab
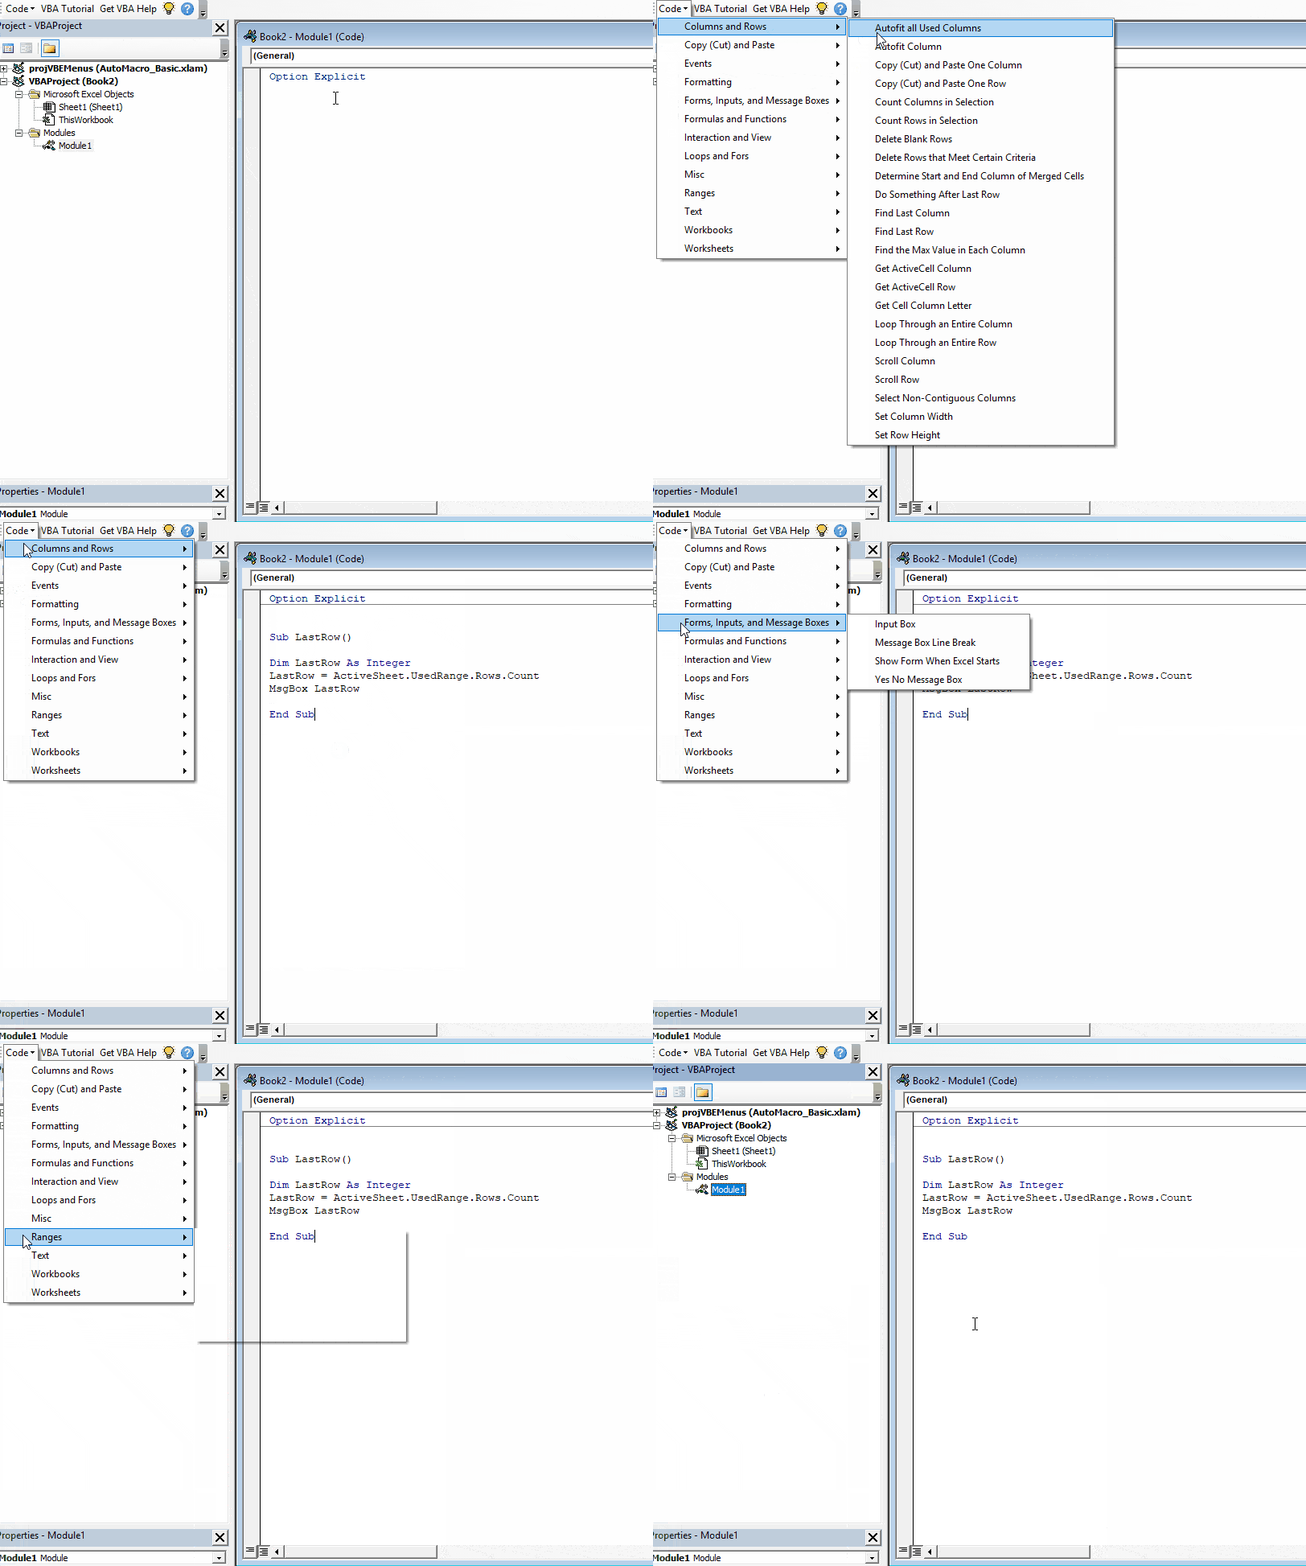
- Click "Visual Basic" (or press Alt + F11)
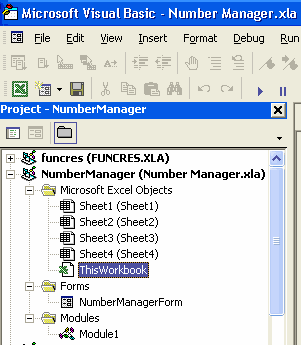
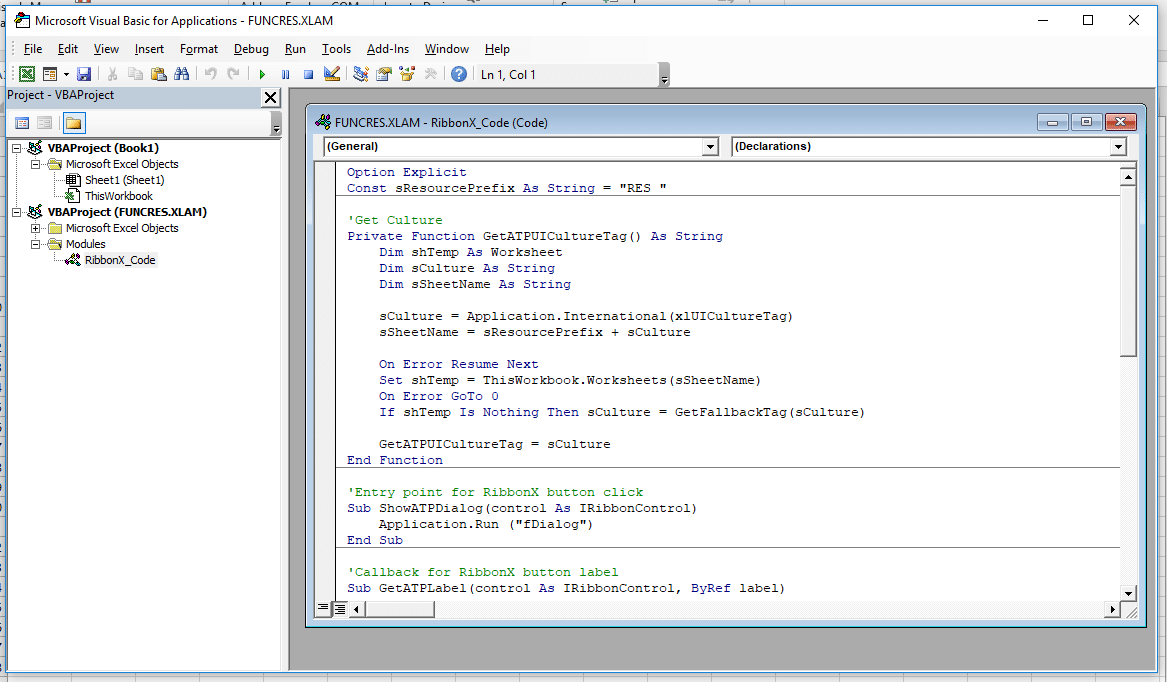
- In the Visual Basic Editor, click "Insert" > "Module"
- Name your module (e.g., "MyAddin")
Step 3: Write Your VBA Code
In the module, you can write VBA code to create your add-in. Here's an example of a simple add-in that creates a custom button:
Sub CreateButton()
    Dim btn As Button
    Set btn = ActiveSheet.Buttons.Add(10, 10)
    btn.OnAction = "MyMacro"
    btn.Text = "Click me!"
End Sub

Sub MyMacro()
    MsgBox "Hello, world!"
End Sub
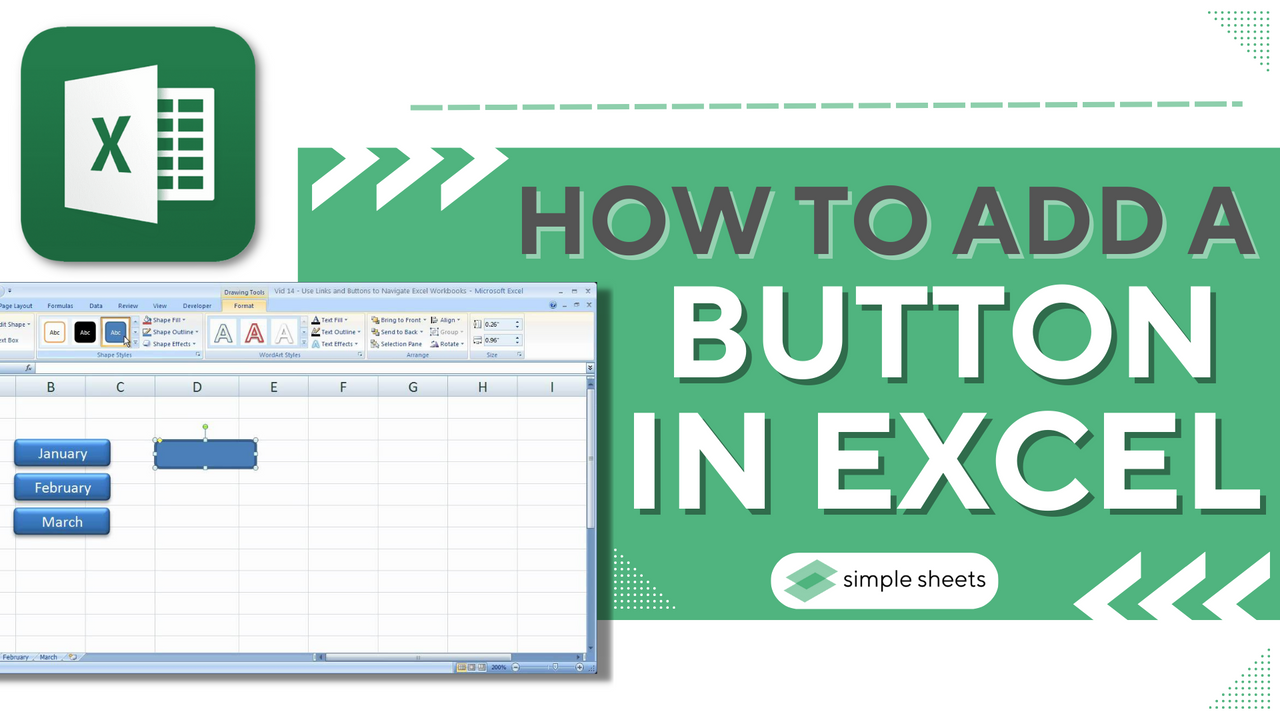
This code creates a button on the active sheet that, when clicked, displays a message box with the text "Hello, world!".
Step 4: Create a User Form (Optional)
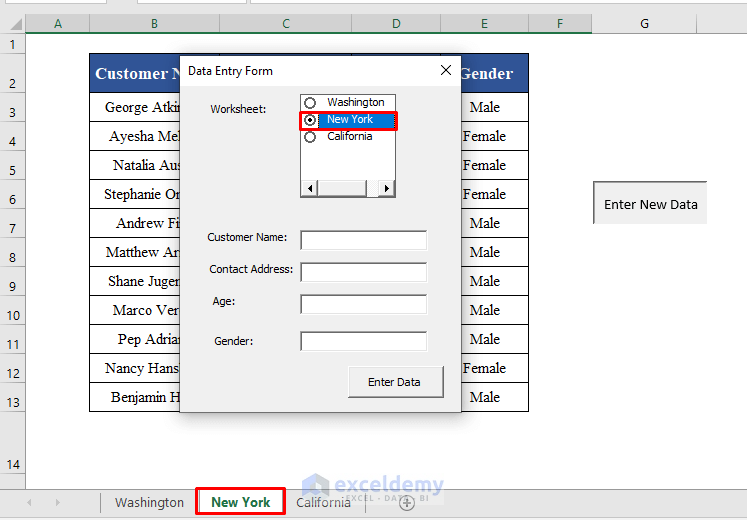
If you want to create a more complex add-in with a user interface, you can create a User Form. To do this:
- In the Visual Basic Editor, click "Insert" > "User Form"
- Design your form using the tools and controls available in the Visual Basic Editor
Step 5: Save Your Add-in
- In the Visual Basic Editor, click "File" > "Save"
- Save your add-in as a ".xla" file (e.g., "MyAddin.xla")
Step 6: Load Your Add-in
- Go to the "Developer" tab
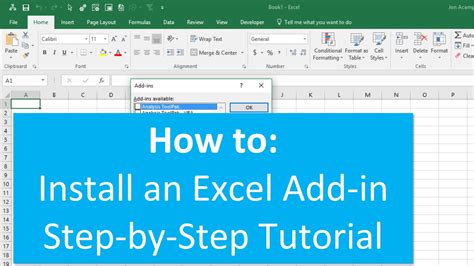
- Click "Add-ins"
- Click "Browse"
- Select your ".xla" file
- Click "OK"
Your add-in is now loaded and ready to use!
Tips and Variations
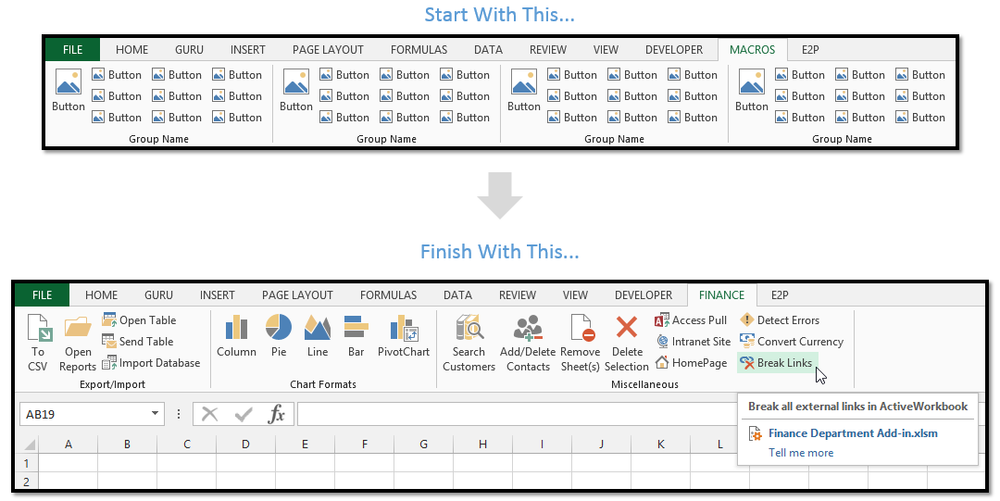
- To create a button on the ribbon, you can use the
CommandBarsobject. - To create a custom function, you can use the
WorksheetFunctionobject. - To share your add-in with others, you can distribute the ".xla" file or create an installer package.

Gallery of Excel Add-in Creation

Frequently Asked Questions
What is an Excel add-in?
+An Excel add-in is a program that runs within Microsoft Excel, providing additional functionality and tools to enhance your spreadsheet experience.
How do I create an Excel add-in?
+To create an Excel add-in, you need to enable the Developer tab in Excel, create a new VBA project, write your VBA code, and save your add-in as a ".xla" file.
What is VBA?
+VBA (Visual Basic for Applications) is a programming language used to create and automate tasks in Microsoft Office applications, including Excel.
We hope this article has helped you get started with creating your own Excel add-in with VBA. Remember to practice and experiment with different code and features to create a powerful and useful add-in. Happy coding!

