Copying data as a picture in Excel can be a convenient way to share or present information without having to worry about formatting or formulas being altered. This technique is particularly useful when you need to insert Excel data into other Microsoft Office applications like Word or PowerPoint, or when you want to share data with others who may not have Excel installed on their devices. Here are five ways to copy data as a picture in Excel:
As you work with Excel, you might encounter situations where sharing data in a non-editable format is preferable. This could be for security reasons, to preserve the layout, or simply to ensure that the data is not altered during the sharing process. Excel provides several methods to achieve this, each with its own set of advantages and suitable scenarios.
Excel is a powerful tool with a wide range of applications, from simple calculations to complex data analysis. One of its lesser-known but highly useful features is the ability to copy data as an image. This feature allows users to capture a snapshot of their data, which can then be pasted into other documents, presentations, or even emails.
One of the primary reasons to copy data as a picture is to prevent others from editing the data. When you share data in its native format, anyone with Excel can modify it. By converting it into an image, you can ensure that the data remains intact and cannot be altered without your knowledge.
Moreover, copying data as a picture is an excellent way to preserve the formatting of your data. In Excel, formatting is not just about aesthetics; it's also about conveying information effectively. By copying data as an image, you can ensure that the recipient sees the data exactly as you intended, with all the formatting intact.
Another advantage of copying data as a picture is that it allows you to share data with people who may not have Excel installed on their computers. This can be particularly useful in a business setting where you might need to share data with clients or partners who use different software.
Now, let's explore the five ways to copy data as a picture in Excel.
Method 1: Using the "Copy as Picture" Option

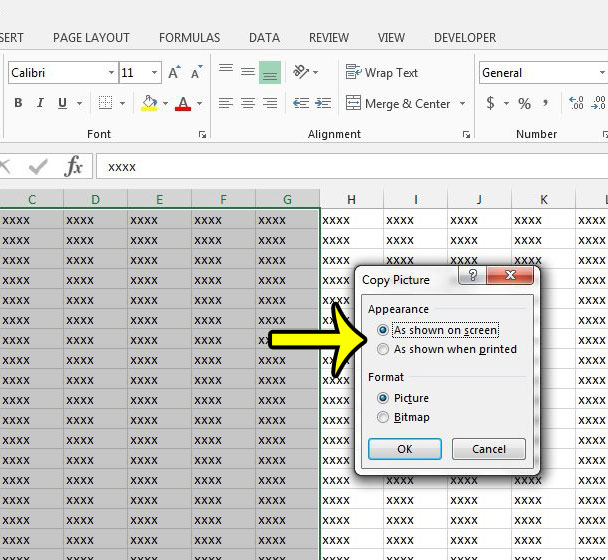
The most straightforward way to copy data as a picture in Excel is by using the "Copy as Picture" option. This feature is available in the Home tab of the Excel ribbon. Here's how you can access it:
- Select the data you want to copy as a picture.
- Go to the Home tab in the Excel ribbon.
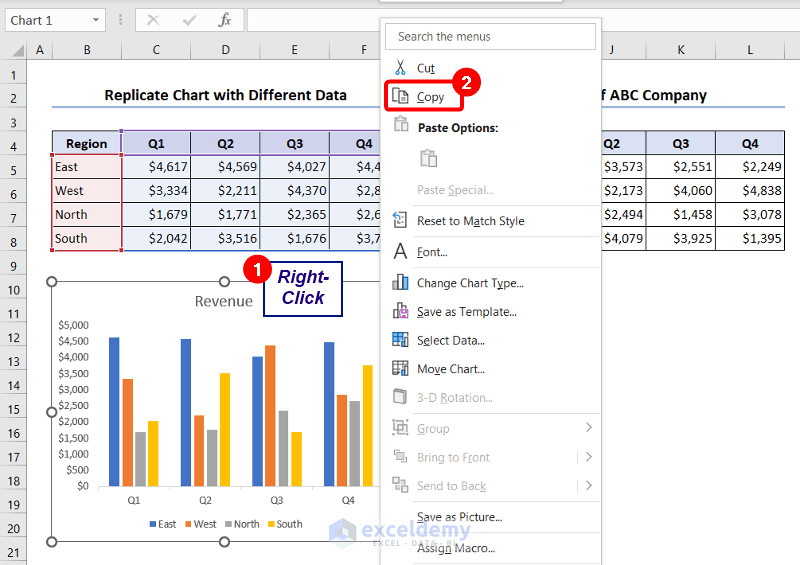
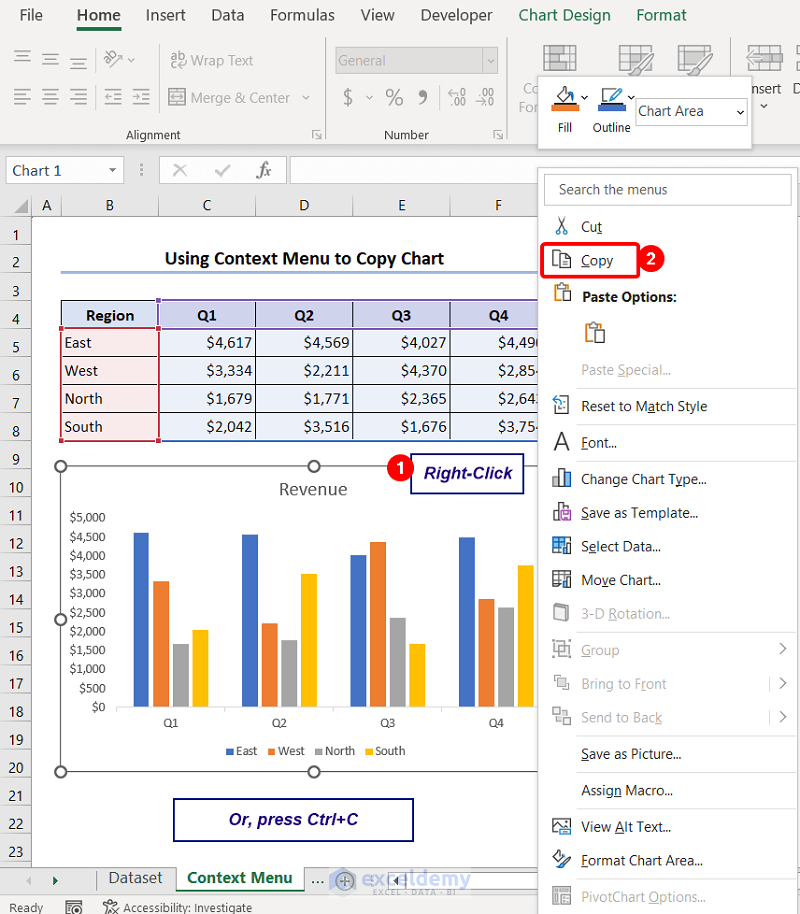
- Click on the "Copy" button in the Clipboard group.
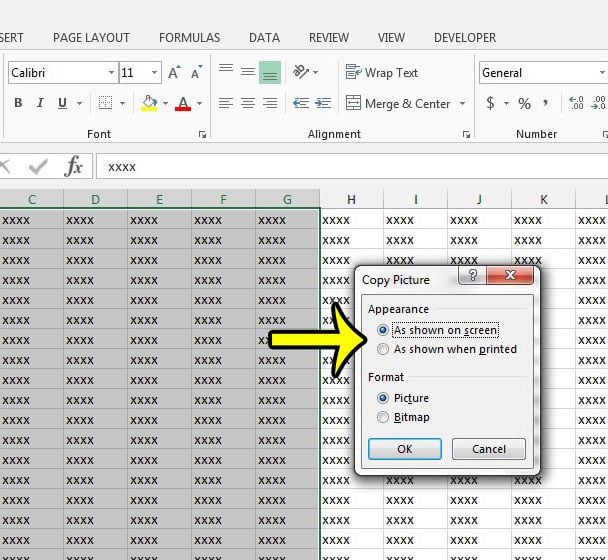
- From the drop-down menu, select "Copy as Picture."
- In the "Copy Picture" dialog box, choose the format you want to use for the picture (e.g., GIF, JPEG, PNG).
- Click "OK" to copy the data as a picture.
You can now paste the copied picture into any application that supports images.
Advantages of Using "Copy as Picture"
- Preserves formatting and layout.
- Prevents editing of the data.
- Suitable for sharing data with non-Excel users.
Method 2: Using the Snipping Tool

Another way to copy data as a picture in Excel is by using the Snipping Tool. The Snipping Tool is a Windows utility that allows you to capture screenshots of any part of your screen. Here's how you can use it to copy data as a picture:
- Open the Snipping Tool on your computer.
- Select the data you want to copy as a picture in Excel.
- In the Snipping Tool, select "New" and then choose the type of snip you want to create (e.g., full-screen snip, window snip, rectangular snip).
- Drag the crosshair pointer to select the area of the screen you want to capture.
- Release the mouse button to capture the snip.
- The snip will be displayed in the Snipping Tool window.
- You can now save the snip as an image file or copy it to the clipboard.
Advantages of Using the Snipping Tool
- Allows for precise control over the capture area.
- Can be used to capture screenshots of other applications as well.
- Does not require Excel to be the active window.
Method 3: Using the Print Screen Button

You can also copy data as a picture in Excel by using the Print Screen button on your keyboard. Here's how:
- Select the data you want to copy as a picture in Excel.
- Press the Print Screen button on your keyboard (usually labeled as "PrtScn" or "PrtScr").
- Open an image editing application like Microsoft Paint.
- Press "Ctrl + V" to paste the screenshot into the image editing application.
- You can now save the screenshot as an image file or copy it to the clipboard.
Advantages of Using the Print Screen Button
- Quick and easy to use.
- Does not require any additional software.
- Can be used to capture screenshots of other applications as well.
Method 4: Using the "Paste Special" Option

You can also copy data as a picture in Excel by using the "Paste Special" option. Here's how:
- Select the data you want to copy as a picture in Excel.
- Go to the Home tab in the Excel ribbon.
- Click on the "Copy" button in the Clipboard group.
- Open the application where you want to paste the data as a picture.
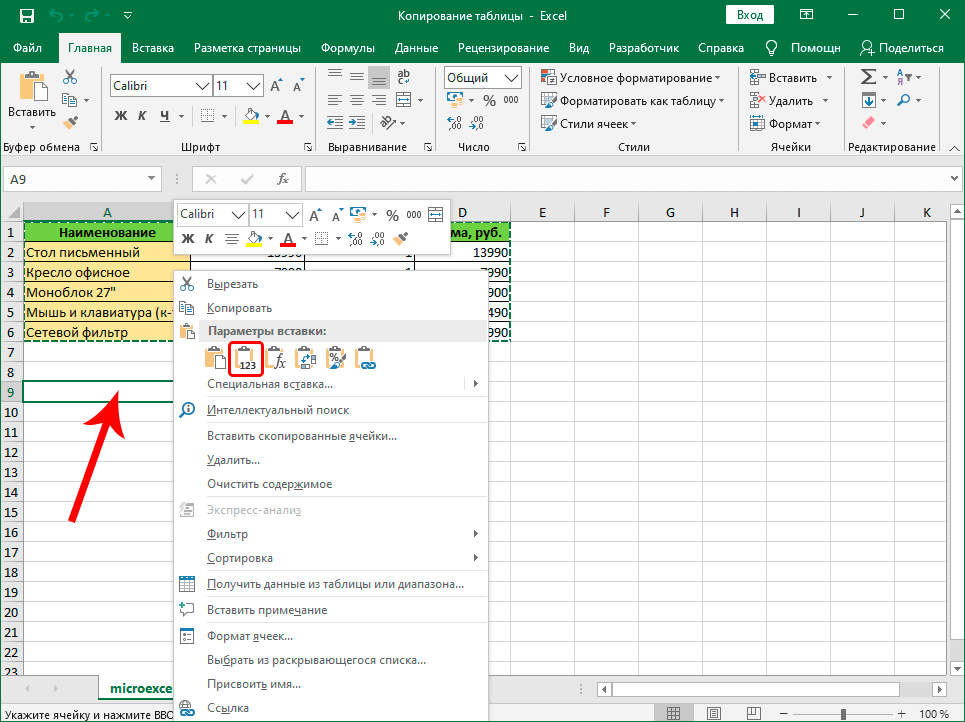
- Right-click inside the application and select "Paste Special."
- In the "Paste Special" dialog box, select "Picture (JPEG)" or "Picture (PNG)" as the paste option.
- Click "OK" to paste the data as a picture.
Advantages of Using "Paste Special"
- Allows for precise control over the paste format.
- Can be used to paste data as a picture in other applications.
- Does not require the data to be copied as a picture in Excel.
Method 5: Using VBA Macros

Finally, you can also copy data as a picture in Excel by using VBA macros. Here's an example of how you can create a VBA macro to copy data as a picture:
- Open the Visual Basic Editor in Excel.
- In the Visual Basic Editor, insert a new module.
- Paste the following code into the module:
Sub CopyAsPicture()
    Range("A1:B2").CopyPicture Appearance:=xlScreen, Format:=xlPicture
End Sub
- Replace "A1:B2" with the range of cells you want to copy as a picture.
- Save the macro and close the Visual Basic Editor.
- To run the macro, go to the Developer tab in the Excel ribbon and click on the "Macros" button.
- In the "Macros" dialog box, select the macro you created and click "Run."
Advantages of Using VBA Macros
- Allows for automation of the copy process.
- Can be used to copy data as a picture in other applications.
- Requires knowledge of VBA programming.
In conclusion, copying data as a picture in Excel can be a useful technique for sharing data with others or preserving the formatting of your data. There are several methods to achieve this, each with its own set of advantages and suitable scenarios. Whether you use the "Copy as Picture" option, the Snipping Tool, the Print Screen button, the "Paste Special" option, or VBA macros, you can ensure that your data is shared or presented exactly as you intended.
Final Thoughts
Copying data as a picture in Excel is a versatile technique that can be used in a variety of scenarios. By understanding the different methods available, you can choose the one that best suits your needs. Whether you're a beginner or an advanced user, this technique can help you to share data more effectively and preserve the formatting of your work.


What is the best way to copy data as a picture in Excel?
+The best way to copy data as a picture in Excel depends on your specific needs and preferences. If you want a quick and easy method, you can use the "Copy as Picture" option or the Print Screen button. If you need more control over the capture area, you can use the Snipping Tool. If you want to automate the copy process, you can use VBA macros.
Can I copy data as a picture in Excel using a keyboard shortcut?
+How do I paste data as a picture in Excel?
+To paste data as a picture in Excel, you can use the "Paste Special" option. Right-click inside the cell where you want to paste the data and select "Paste Special." In the "Paste Special" dialog box, select "Picture (JPEG)" or "Picture (PNG)" as the paste option.
